How to bulk schedule posts
The easiest approach is to start with our sample folder, replace its content with your own, and keep the same CSV structure.
1. Download the sample folder
Contains one correctly formatted CSV, one test image and a read-me file.
2. Keep the CSV formatting exactly the same
Your CSV must use these columns:
file,date,time,type,title,captionExample:
space-cosmos-test.png,2026-12-01,12:30,photo,The Universe Never Stops Amazing,"Your caption here"- date: YYYY-MM-DD
- time: 24-hour format, e.g.
16:30 - type:
photo,reel, ortext - file: exact media filename. Text posts can leave file blank.
3. The media filename must match the CSV exactly
This is the most important rule in bulk scheduling. If your CSV says space-cosmos-test.png, the uploaded file must also be named space-cosmos-test.png — same spelling and extension.
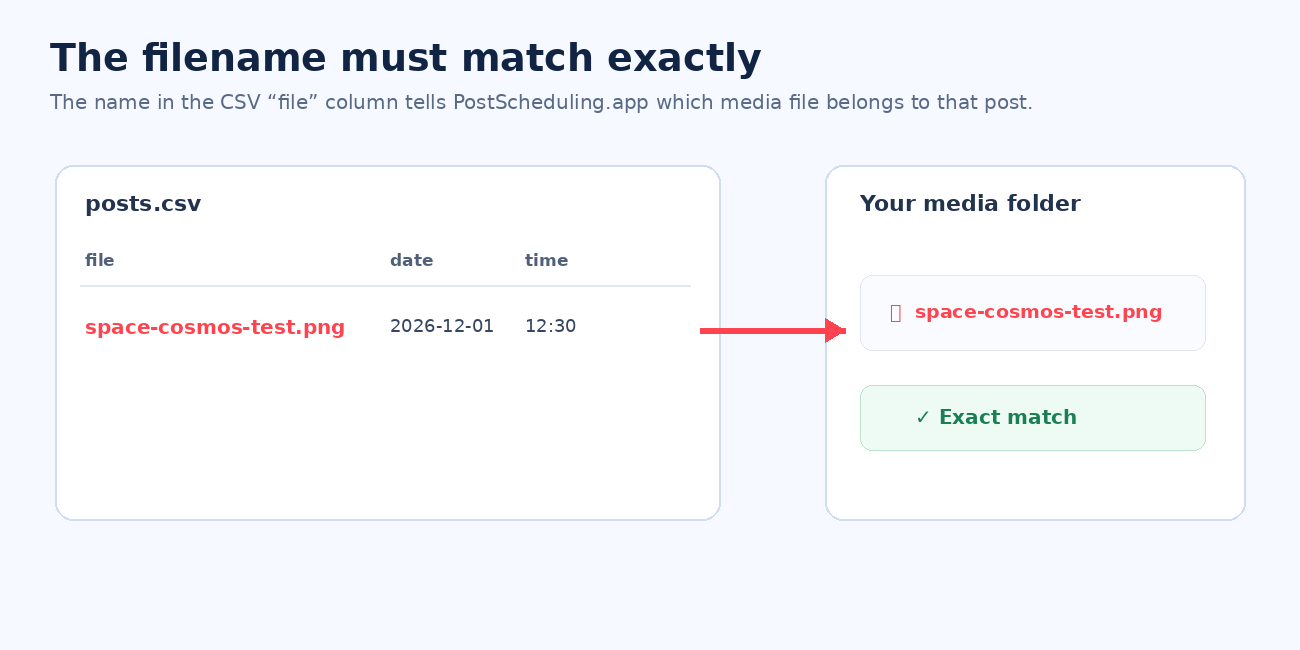
photo-1.jpg and photo-1 (1).jpg are different filenames. PostScheduling will correctly flag that media as missing.4. Choose the Page(s), CSV and media
- Select one or more Facebook Pages.
- Upload your CSV.
- Select every image/video referenced in the CSV.
- Click Validate content.
5. Fix anything in Validation
The Validation table shows every post before it is sent to Meta. You can change the date and time directly in the table. A post must be scheduled at least 10 minutes in the future.
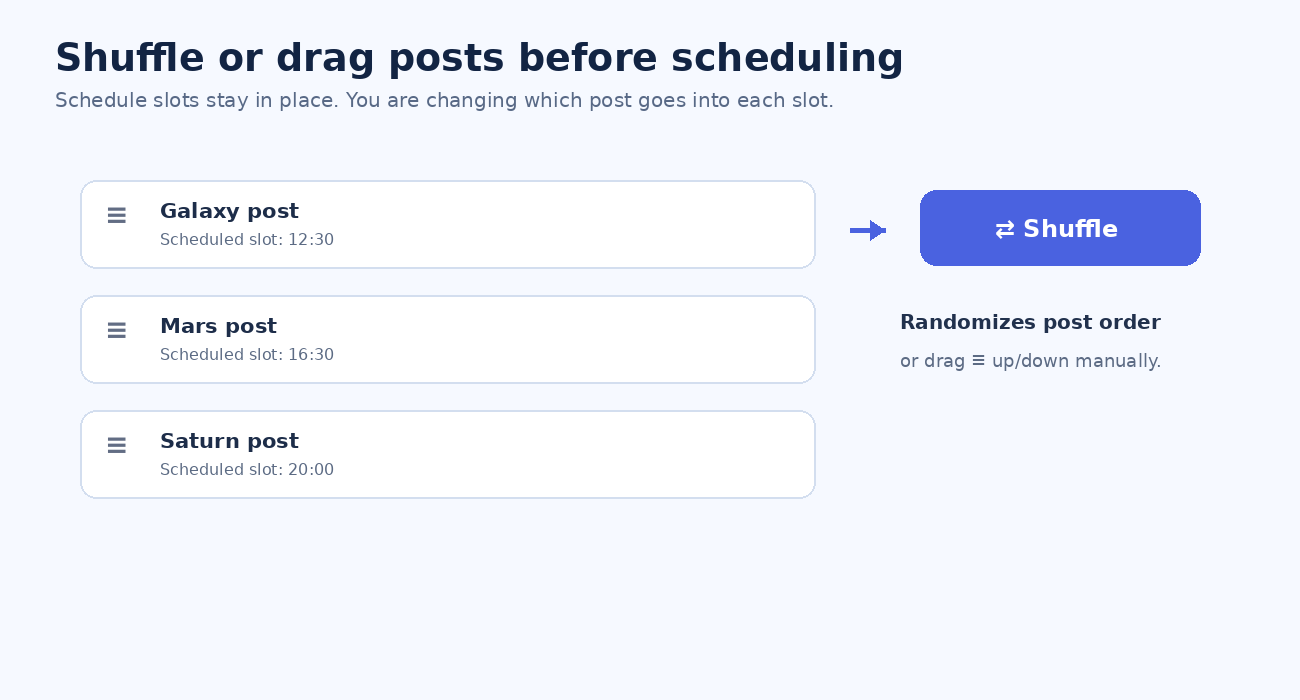
6. Shuffle or drag posts into a different order
Click Shuffle to randomize which content goes into each schedule slot. Or grab the ≡ handle and drag a post above or below another post.
7. Schedule the validated posts
Click Schedule validated posts, confirm the Page count and total number of scheduled objects, and continue. PostScheduling uploads the media, queues the requests, and Meta receives the scheduled publishing times.
Use the Scheduled Posts section afterward to see processing status, change timing, or cancel posts created through the tool.